Did you know that the average wedding costs around $30,000?! It may be difficult to wrap your mind around that figure, but when you factor in entertainment, food, drinks, your dress, and the photographer, you can see how costs really start to add up.
Plus, if you stop to think about it, your big day can start to feel a little wasteful. There’s your wedding gown, which you’ll probably just wear once. Then, there are the wedding favors which your guests might just throw away.
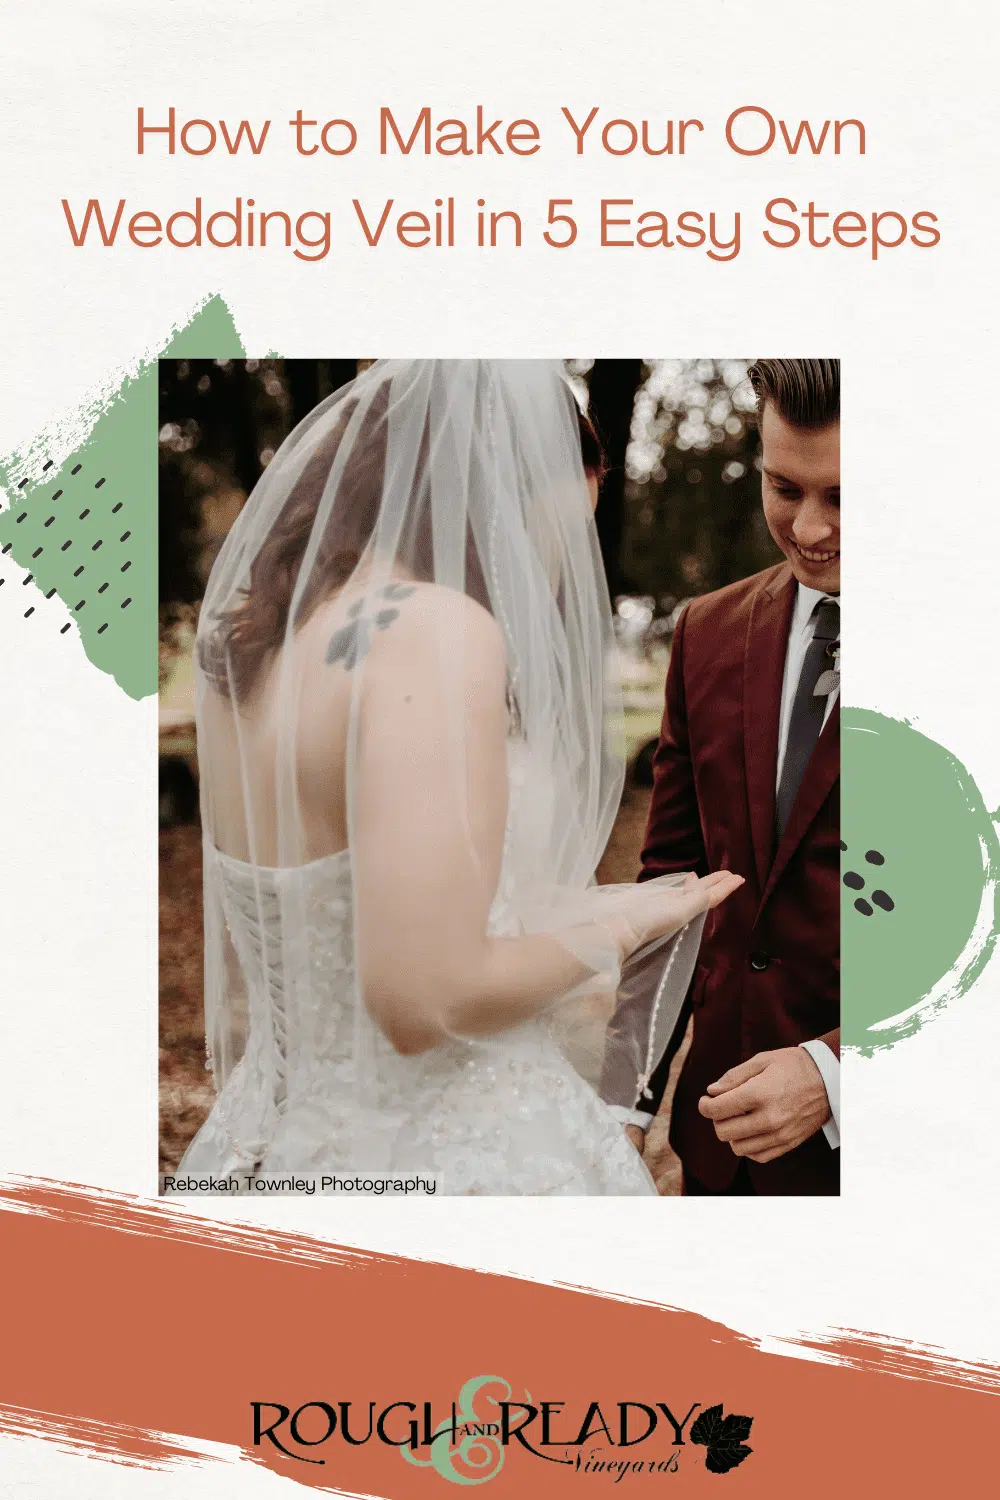
“By making my wedding veil myself, I saved so much money! Plus, I liked knowing that it wasn’t made of synthetic fabrics or in a sweatshop,” says Jessica, a bride who used the Rough & Ready Vineyards for her wedding reception last September.
Here are 5 easy steps to create a DIY wedding veil:

Hold some measuring tape on your head where you’ll want your veil to sit. Some brides choose to clip their veil into the top of their head, while others choose a romantic style at the back of their head. Now measure to where you want your veil to fall. The common wedding veil lengths are shoulder, elbow, fingertip, floor, chapel, and cathedral. A chapel-length veil has a small train, and a cathedral-length veil has a long train.
For example, if you measure from the back of your head to the top of your rear, it’ll measure about 32 inches or “elbow” length.
We’d love to help you plan your wedding day, your way, at Rough & Ready Vineyards!
Have you been looking for picturesque wedding venues in Northern California that are affordable and flexible with packages, vendors, and bar requirements? Maybe you want a relaxed and easy weekend, so you can enjoy every memorable moment with everything in one location. Learn more by choosing an option below:
2. Buy Tulle and Other Supplies
Besides silk or nylon tulle, you’ll also need to get nylon micro-filament thread, straight pins, sharp scissors, and any beads or trim you desire.
Whatever supplies you purchase, make sure you have enough. Keep in mind that a wedding veil is oval. For an elbow-length veil, the length of the fabric will be around 72 inches, and the center of the arc was 42 inches. Double check the width of your tulle, because it should be less than or equal to what you measured in step #1.
3. Cut Your Tulle
So that your wedding veil is symmetrical, fold your tulle in half. Then, you can draw a simple pattern onto a large sheet of paper, such as wrapping paper. Measure from the edge down the length you measured in step 1. This will become the bottom of the curve. Then, because you folded the fabric in half, also measure in the perpendicular direction (this will be the flat top).
You can create your own compass by tying a string around a pencil. Have someone hold the edge of the string very still, and trace the curve onto the paper. Now, pin your tulle onto the paper and cut along the line you’ve traced.
4. Add Embellishments
The beading, trim, or lace you affix onto your veil is completely up to you. Brides creating their own DIY wedding veil have chosen lace, beads, or ribbon. You’ll probably want to hand-sew any embellishments you choose. Here’s where you might want to enlist the help of your maid of honor or one of your bridesmaids!
5. Affix It to a Hair Comb
Gather your veil along the flat top and sew it with a simple running stitch. Try to keep the pleats alternating evenly. Now, pull it tight to match the width of your hair comb.
To attach your veil to the comb, wrap a piece of tulle over the top of the comb and through the teeth. Then, secure the ends with a few stitches and sew the veil to the tulle. You’re done! Now you’ve got a gorgeous custom wedding veil!
We’d love to help you plan your wedding day, your way, at Rough & Ready Vineyards!
Have you been looking for picturesque wedding venues in Northern California that are affordable and flexible with packages, vendors, and bar requirements? Maybe you want a relaxed and easy weekend, so you can enjoy every memorable moment with everything in one location. Learn more by choosing an option below:
Editor’s Note: This article was originally published on August 3, 2021, and has since been updated.
Heidi Keefer is a seasoned content creator with nearly 20 years of experience in professional writing. Specializing in wedding planning and lifestyle topics, Heidi combines industry expertise with a passion for storytelling to inspire and guide couples on their journey to the big day. When not crafting articles about wedding trends, budgeting tips, or romantic inspirations, Heidi enjoys exploring new venues, collaborating with vendors, and sharing insider advice to help every couple create the celebration of their dreams.


Thank you very much for the tips on wedding veils!
You’re welcome, Jeanne! Happy to hear you found them useful.